How to Measure Your Space for a Custom Display Case
If you’re planning to get a custom display case in California, the first step is making sure it fits your space perfectly. At Instant Display Cases Co., we create display cases for retailers, museums, collectors, and events, and we know that accurate measurements make all the difference. A display case that fits well not only looks great but also protects and highlights your items.
Why Measuring Your Space Matters
Getting the right measurements matters more than you might think. A case that’s too big or too small can:
- Make your items look crowded or awkward
- Be hard to reach or access safely
- Cause doors or lids not to work properly
Taking the time to measure carefully ensures your display case looks professional and works as it should. Whether it’s anti-smash and grab or engraved LED displays, size and fit are key.
Step 1: Check Your Space
Before you measure, look at where you want your display case. Ask yourself:
- How much floor space is available?
- How tall is the area? Are there shelves or lights overhead?
- Will people be able to reach the items easily?
- Are there walls, windows, or doors nearby to consider?
Noting these details helps us design a display that fits smoothly into your space.
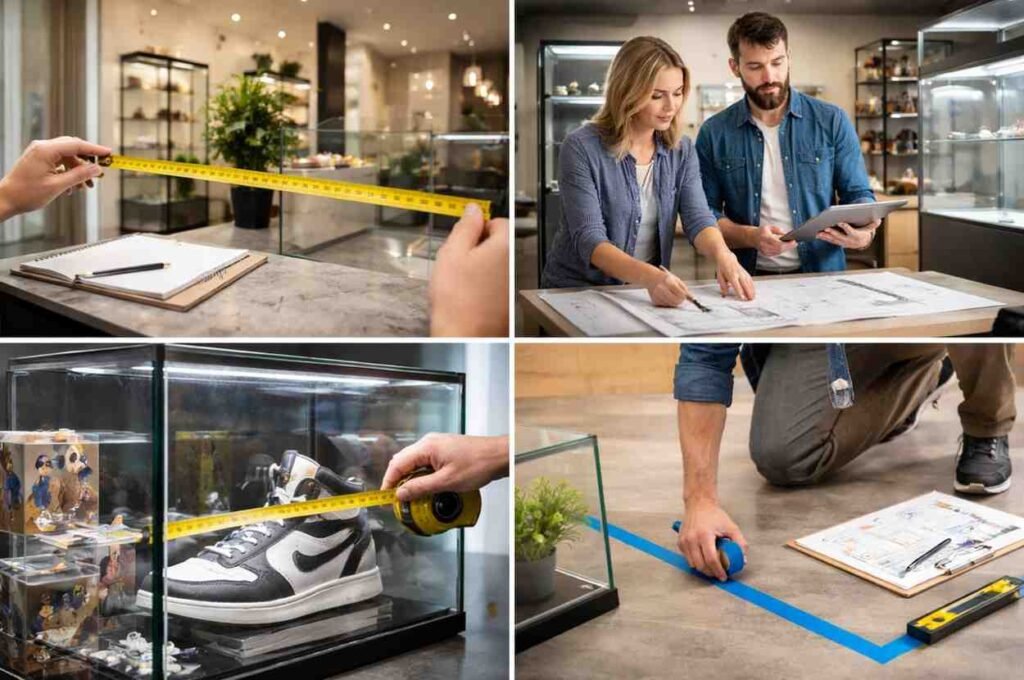
Step 2: Measure Width, Depth, and Height
Use a tape measure and write down:
- Width – measure from one side of the space to the other
- Depth – measure from front to back
- Height – measure from the floor to the ceiling or any obstruction
Tip: Measure at a few different points because walls and floors aren’t always perfectly even. These numbers help us create custom plastic fabrication and display cases that fit perfectly.
Step 3: Consider Doors and Access
If your display case has doors, sliding panels, or lids, you need extra space:
- Hinged doors need room to swing open
- Sliding doors need side space to move freely
- Lift-off lids need clearance to remove easily
This ensures your case is easy to use while keeping your items safe.
Step 4: Think About the Base and Lighting
Many display cases have pedestals, wood bases, or built-in lighting. When measuring, consider:
- The height of the base
- Space for LED or RGB lighting and wiring
- Airflow for items that might need it
This step helps us make display cases that are both beautiful and practical.
Step 5: Measure Your Items
Finally, measure what you plan to display. Add a little extra space so everything fits comfortably. Think about:
- Width, depth, and height of each item
- How items will be grouped or arranged
- Weight, so the base and acrylic can support it
With these measurements, we can suggest the best materials and layout for your items, whether you need a museum-quality display case or a secure anti-smash-and-grab display.
Step 6: Share Your Measurements
Once you have all your numbers, send them to us along with photos. This helps our team:
- Recommend the right layout and lighting
- Make sure the case fits your space perfectly
- Suggest base and access options
We create custom display cases and engraved LED displays for clients in Los Angeles, San Diego, San Francisco, Sacramento, and more. Giving us accurate measurements makes the design process smooth and ensures your display case looks exactly how you want it.
Conclusion
Measuring your space carefully is the key to a perfect display case. From width, depth, and height to clearance, base, and lighting, every detail matters. With the right measurements, Instant Display Cases Co. can design a display case that protects, highlights, and fits your items perfectly.
Contact us today with your measurements and photos, and let’s make a display case that works for your space and style.